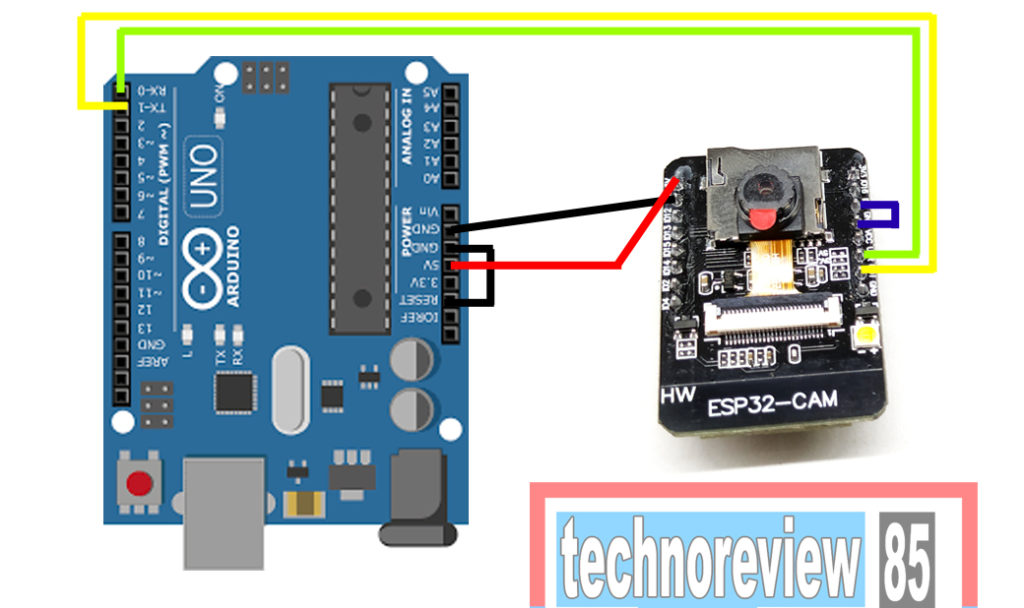
How To Program Esp 32 Cam Using Arduino Uno Board Techno Review 85 Riset
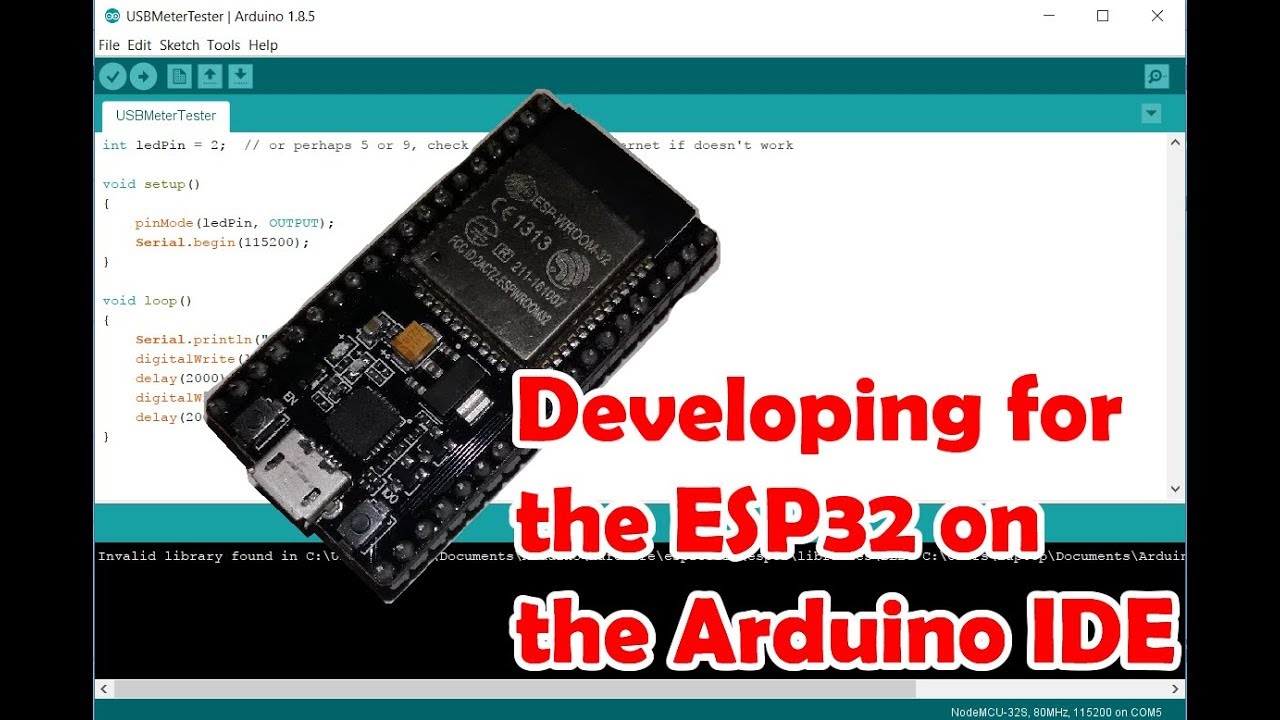
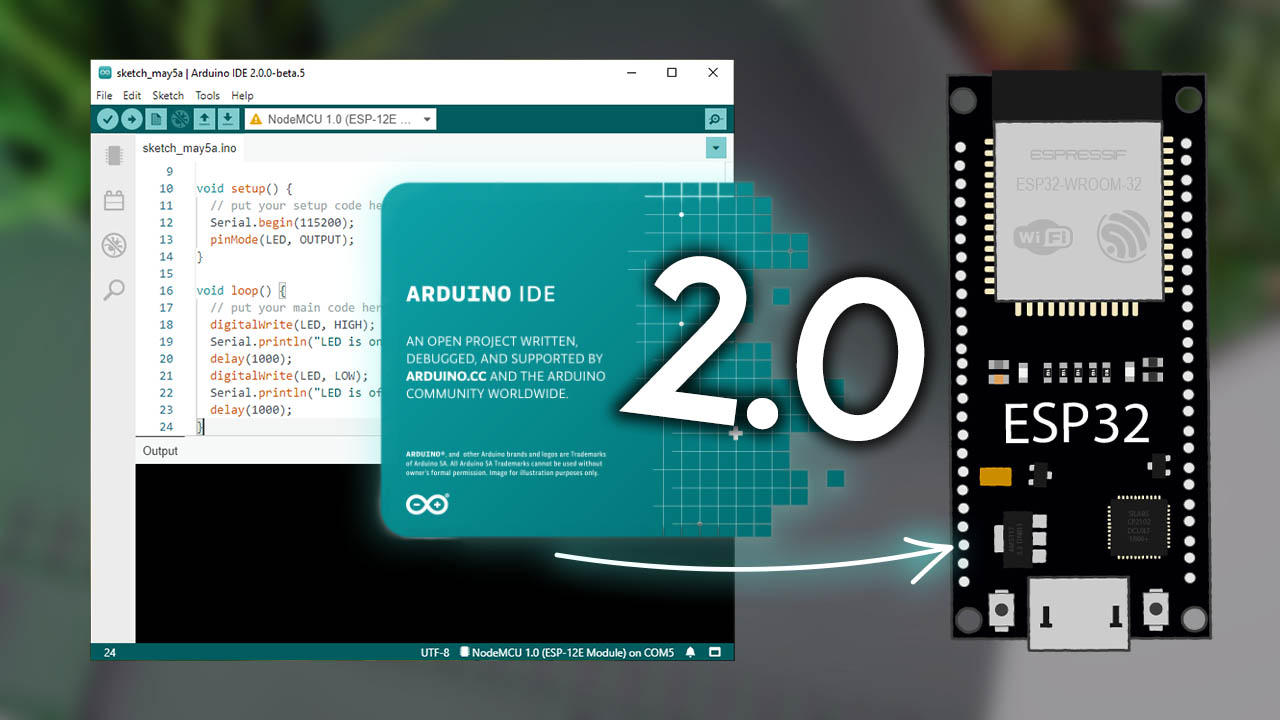
If you're just getting started with the ESP32, start with Arduino IDE. At the time of writing this tutorial, we recommend using the legacy version (1.8.19) with the ESP32. While version 2 works well with Arduino, there are still some bugs and some features that are not supported yet for the ESP32. Installing Arduino IDE

Esp32 Cam Http Photos To Local Or Cloud Server Using Php And Installing Board In Arduino Ide 2
3 Steps to Install ESP32 in Arduino IDE. After you finish the driver installation, you need to download the core files from Espressif Github pages and decompress them. Then, create a new folder in the directory where your Arduino files are saved and name the folder "hardware.". Then move the files your decompressed to the "hardware.
How To Install Program An Esp32 With Arduino Ide For The First Time Vrogue
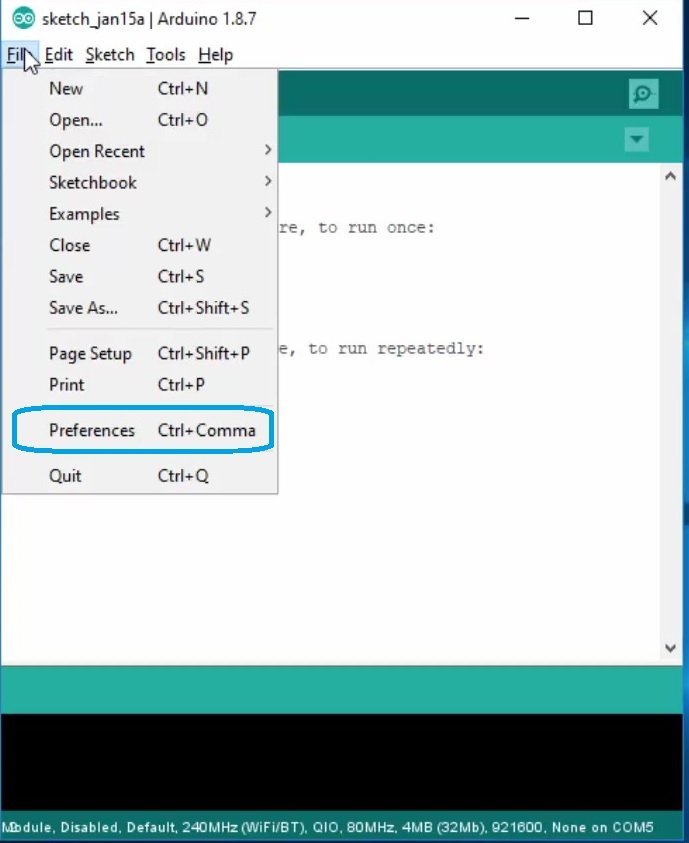
1- Open the Arduino IDE, go to the File menu. Select File > Preferences 2- Type in the following URL link inside the Additional Board Manager URLs textbox and click OK. https://dl.espressif.com/dl/package_esp32_index.json If you've got other boards URLs, just separate them with a comma "," in the same textbox. 3- Open the board manage menu.

How to Install & Program an ESP32 with Arduino IDE for the first time? Arduino
USB Data Cable Arduino IDE Installing the ESP32 Core Additional boards manager URLs Boards Manager Select the Board Blink Example Board Specs Example WIFI Example Helper Functions Setup Function Loop Function Output Example Conclusions Frequently Asked Questions Q: Can I use the Arduino IDE to program the ESP32?
How To Install Program An Esp32 With Arduino Ide For The First Time Vrogue
Open Boards Manager from Tools > Board menu and install esp32 platform (and do not forget to select your ESP32 board from Tools > Board menu after installation). Restart Arduino IDE. Installing using PlatformIO PlatformIO is a professional collaborative platform for embedded development.
How to Install ESP32 in Arduino IDE step by step tutorial
Run the following command to install them: sudo apt-get install gcc-avr avr-libc Once the installation is complete, you can launch the Arduino IDE from the applications menu or by running the following command in the terminal: arduino Install ESP32 Library in Arduino IDE
How To Install Program An Esp32 With Arduino Ide For The First Time Vrogue
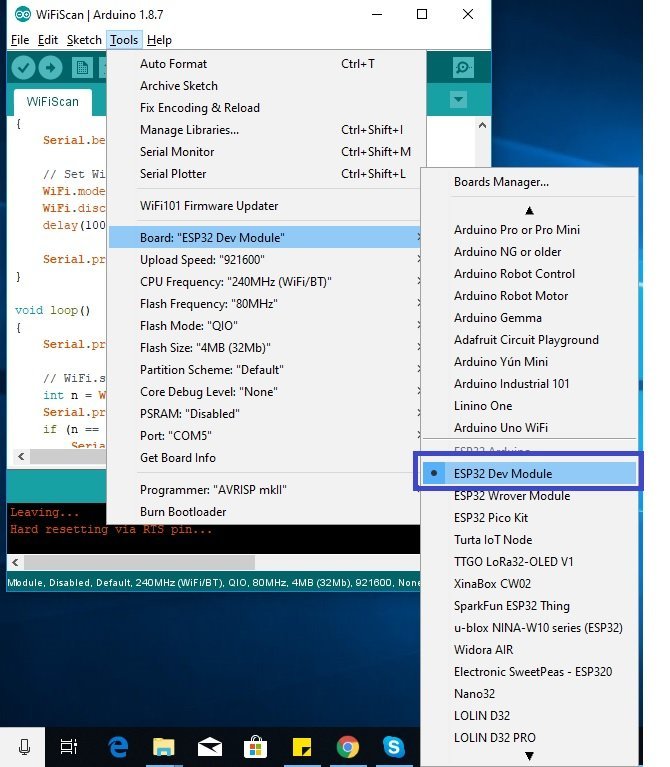
After successfully installing the ESP32 Arduino Core, follow these steps to select the board and port settings in the Arduino IDE: Restart the Arduino IDE to apply the changes made during the installation. Add Tip Ask Question Comment Download. Step 5: ESP32 Example: WiFi Scan.
Esp32 arduino gatorlomi
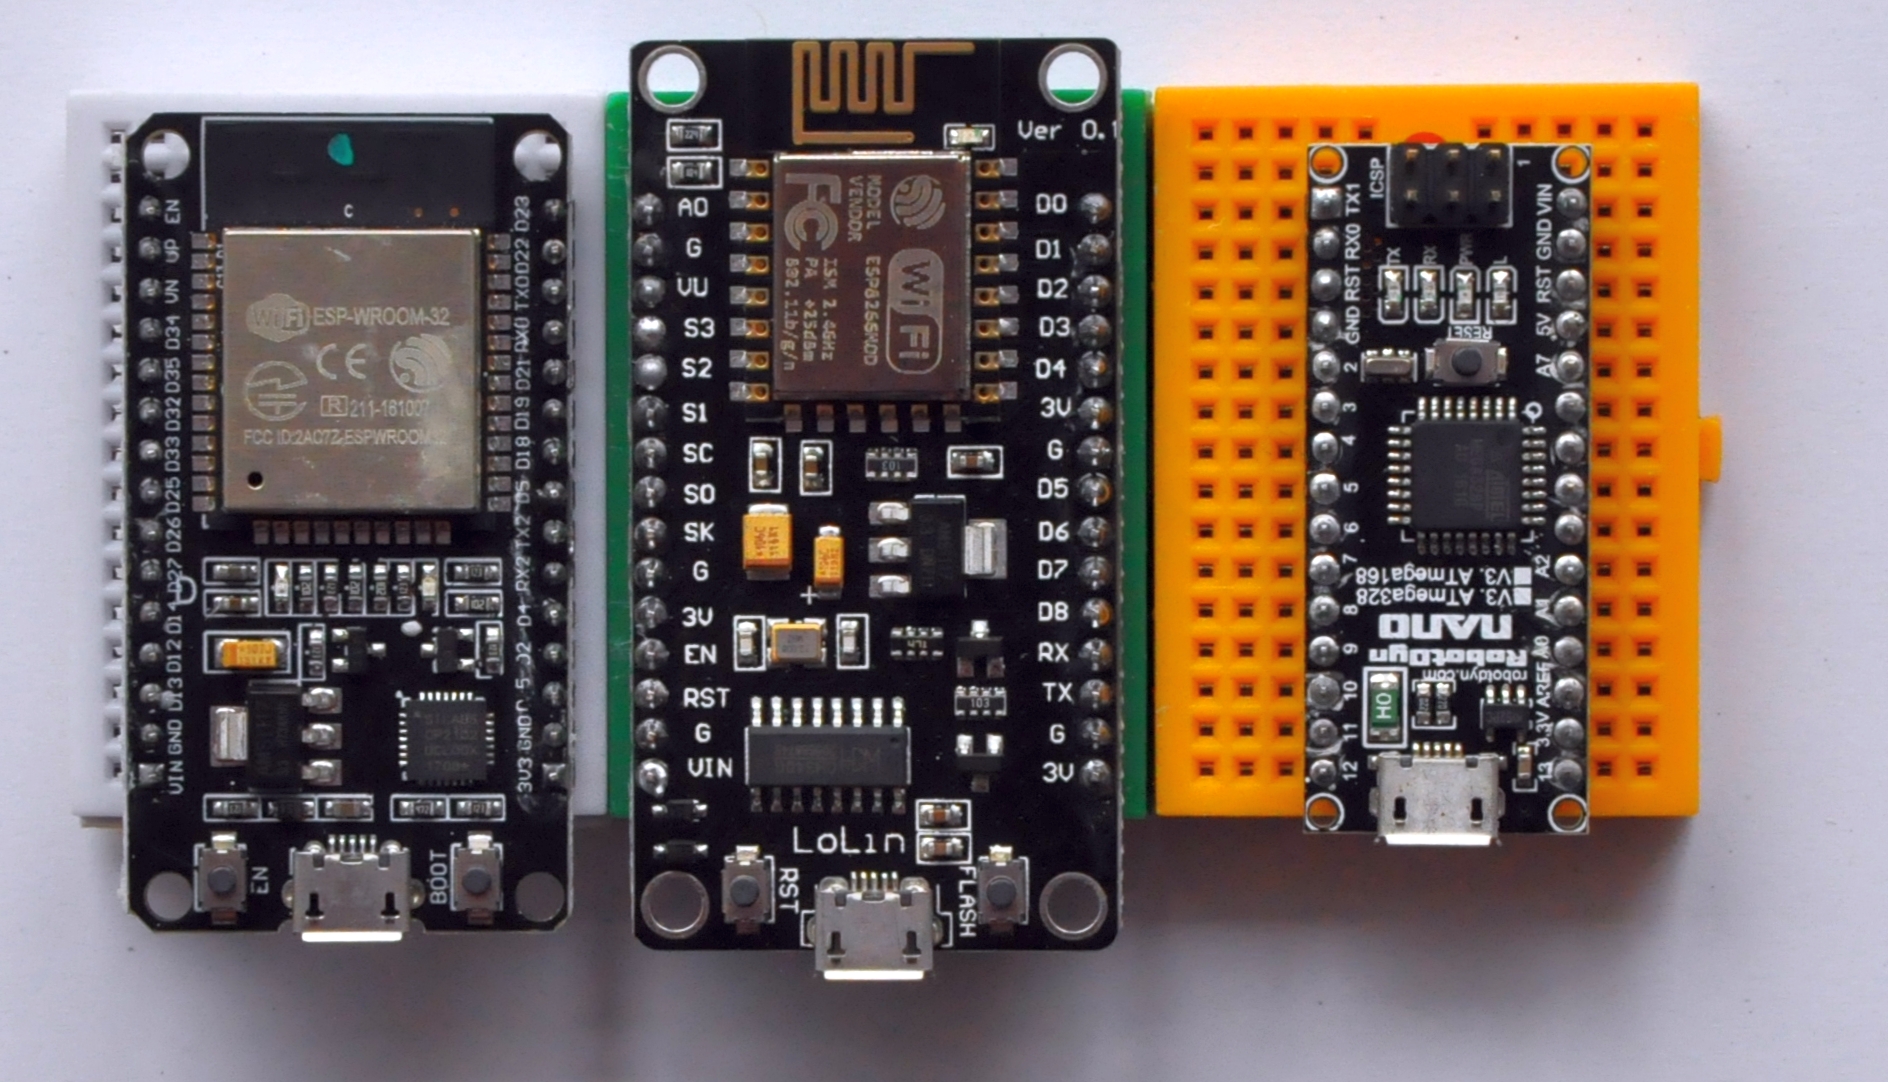
So after installing boards in your Arduino IDE then go to tools> boards and select your board as mine is ESP32 WEMOS LOLIN board , you could ESP32 PICO board or ESP32 wrover module, refer the site from where you bought they will mention the board name so select the baord and select the COM port of your board and go to files > examples > basics > blink and upload th code to your esp32 board and.

How to Install ESP32 Boards in Arduino IDE 2.0
The first thing you will need to do is to download the latest release of the Arduino IDE. You will need to be using version 1.8 or higher for this guide Arduino IDE Download Install CP2104 / CP2102N USB Driver The USB-to-Serial converter that talks to the ESP32 chip itself will need a driver on your computer's operating system.

Installeer de ESP32kaart in Arduino IDE in minder dan 1 minuut (Windows, Mac OS X en Linux
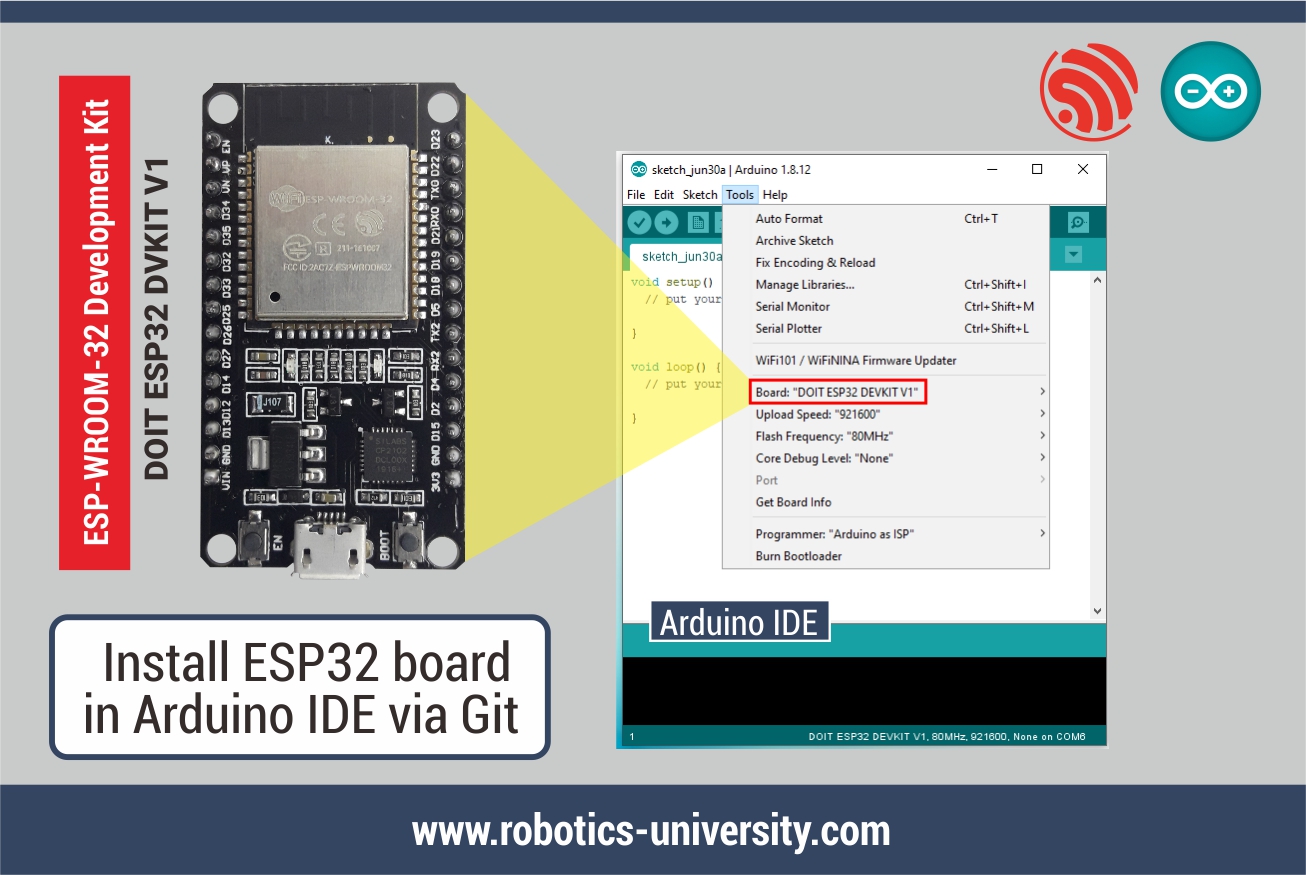
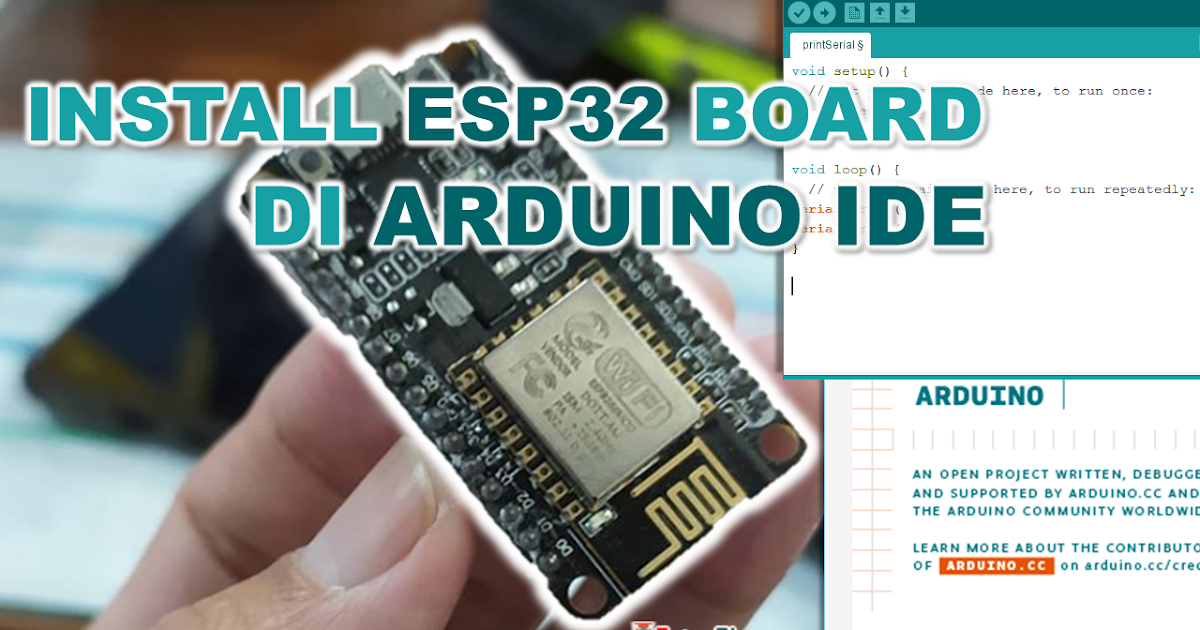
Arduino IDE is one of the most popular IDE to upload a sketch into an Arduino board. Using Arduino IDE we can also upload code into our ESP32 board. In this tutorial, we will explain step by step how to install Esp32 board in Arduino ide for Windows, MAC OS or Linux operating system.
Arduino Er Install Arduino Core For Esp32 To Arduino Ide On Windows Vrogue
Are you a beginner? Start your journey of ESP32 with this very first tutorial: ESP32 Dev board Pinout, Specifications, datasheet, and Schematic How to install ESP32 library on Arduino IDE (Windows, Mac OS X, and Linux) Step 1: Download the Arduino IDE from the official website of Arduino.

0 Result Images of Esp32 Arduino Ide Examples PNG Image Collection
Step 1: Installation In the video, I'll show you a screenshot of how to run the new method of installing ESP32 in the Arduino IDE. The step-by-step process is below. Ask Question Step 2: USB-Serial Converter Driver for ESP32 and ESP8266 For Windows (that does not recognize ESP):
CARA INSTALL ESP32 BOARD DI ARDUINO IDE TUTORIAL OKEGURU
Open the Boards Manager. You can go to Tools > Board > Boards Manager… or you can simply click the Boards Manager icon in the left-side corner. 4. Search for ESP32 and press the install button for esp32 by Espressif Systems. That's it. It should be installed after a few seconds. Testing the Installation
Installing ESP32 Board in Arduino IDE 2.0 (Windows, Mac OS X, Linux) Random Nerd Tutorials
Go to Tools -> Board -> Boards Manager. . . option. A Boards Manager window will pop-up. In the search bar on the top, type "esp32" and hit enter. You will get a result saying "esp32 by Espressif Systems". Select this and click on install button.
Setting up Arduino IDE for ESP32 development (ESP32 + Arduino series) YouTube
Installation Steps Now, to install the ESP32 board in the Arduino IDE, you need to follow the below steps − Make sure you have Arduino IDE (preferably the latest version) installed on your machine Open Arduino and go to File −> Preferences In the Additional Boards Manager URL, enter https://dl.espressif.com/dl/package_esp32_index.json

Installing ESP32 in Arduino IDE (Windows, Mac OS X, Linux) Random Nerd Tutorials
Step 1: Installing or Updating the Arduino IDE The first step in installing the ESP32 Arduino core is to have the latest version of the Arduino IDE installed on your computer. If you haven't already, we recommend that you do so right away. Latest Arduino IDE Step 2: Installing the USB-to-Serial Bridge Driver